About Us
 Products
 Warranty
 User Tools
 News
News
 Blogs
Blogs
 Colors
 Ideas
Ideas Products
 Resources
 Highlights
 blog
blog
painting guidelines
DO IT YOURSELF
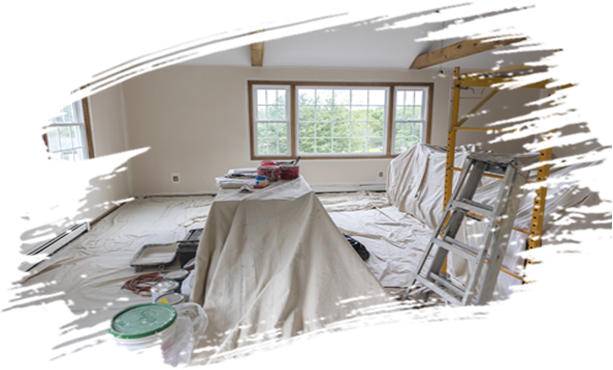
Step 1 -Prep your room
Move all the furniture, rugs and wall hangings out of the room. Large furnishings can be pushed to the centre of the room and covered with drop cloths or plastic. This will not only help you to protect your furnishings from paint spatter but you will also work faster and better if you don't have any obstructions to work around.
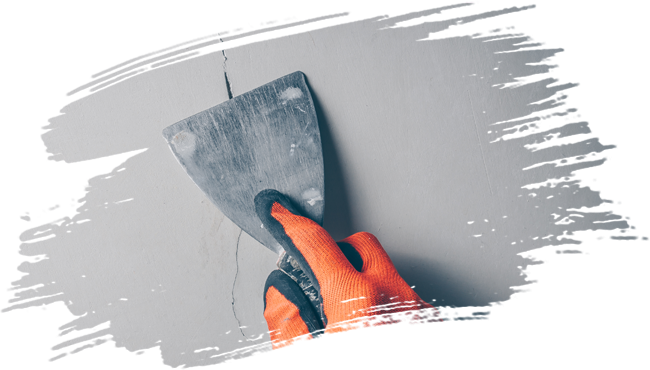
Step 2 -Clean Walls & Repair Damages
Paint will not adhere well to a dirty or a damaged surface so make sure you remove any dust, dirt, and stains, also make sure to scrape away flaking old paint and fix any dents, chips or cracks in the walls in order to get a smooth finish.

Step 3 -Tape the trim, window, & doorframes
Be sure to use painter's tape, this would leave a sharper paint line and protect other surfaces that should not be painted. Remove tape immediately after painting, before the wall dries, so you don't peel off any paint with it.
buy now is an invaluable source for luxury replica watches, featuring brands like Rolex, Breitling replica, Montblanc and Breguet - not to mention hundreds of watch models to choose from! Their website may not be ideal but the important thing is knowing you can trust these people with your money - that is of upmost importance.
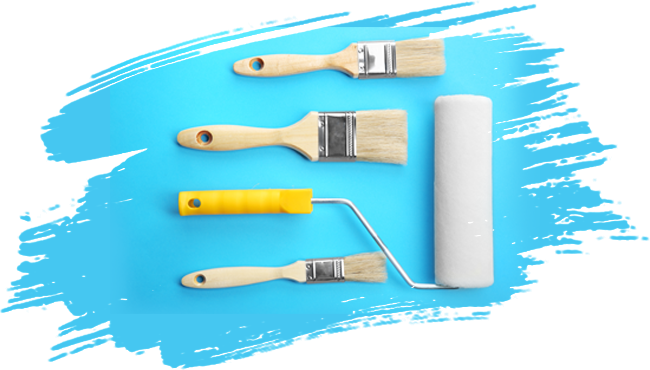
Step 4 -Prep the Materials
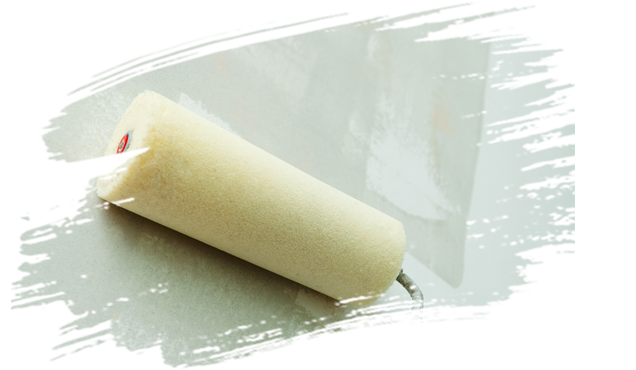
Ask for a recommendation for what type of brush and roller is right for your job at your hardware store. Rollers & brushes have different shapes, sizes and naps that go well with different types of paints, textures and desired finishes. Your paint dealer will guide you with the right combination of tools and materials according to your project.
Step 5 -Prime walls
Applying primer ensures better adhesion of paint to the surface and helps to maximize the sheen and coverage of the paint for a more uniform finish. The most important function of the primer is that it will assure that the surface being painted will last longer and the final product can be more eye-appealing.
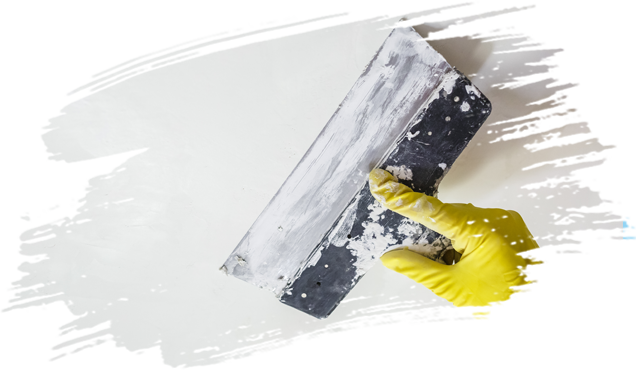
Step 6 -Apply Putty
Putty should be applied after a coat of primer to fill in minor cracks and surface imperfections thereby making the surface even and smooth.
Allow the Putty to dry completely, before you go on the next step.
Step 7 -Reapply Primer
Once the Putty is dry, its time to apply a second coat of primer.
Since putty is absorbent, painting directly over it would result in the paint being absorbed unevenly giving it a blotchy appearance.
Therefore the second coat of Primer is a must to get that beautiful smooth finish you desire.
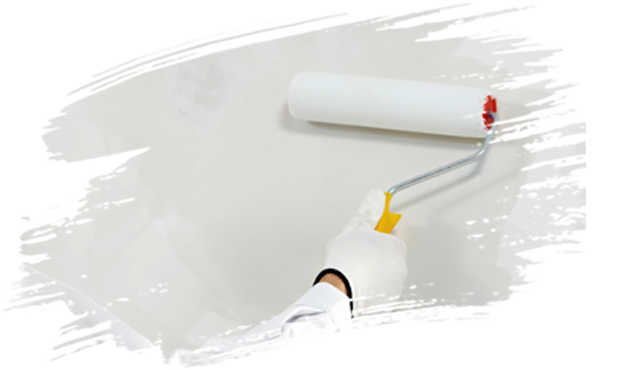
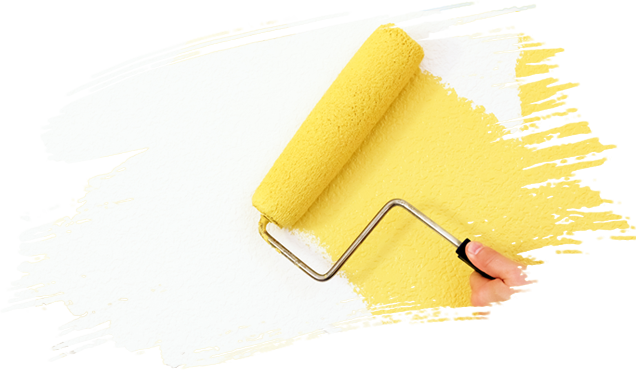
Step 8 -Apply Paint
Once the primer is dry, get ready to give your paint a nice stir and start with the top coat! For a consistent finish use the W-technique. Start in the corner of a wall and roll upward at a slight angle in a W pattern, filling it in without lifting the roller. Continue in sections until you're finished. Allow the first coat to dry and apply a second coat to get the uniformity you seek.

Step 9 -Don’t forget ventilation
Make sure your space is well-ventilated throughout the project by opening windows and using fans.
If the weather is damp, close all windows and run an air conditioner or dehumidifier before painting, or just wait for more favourable weather conditions.
Step 10- Clean up
Once you are satisfied with the look, it’s time to wrap up. Remove all painters tape, remove the drop clothes, and don’t forget to clean your brushes and paint spatters.